

OBS is a well-known program when it comes to quality recording; the program is quite famous among streamers and gamers. Due to a suite full of features, ease of use, cross-platform availability, and freeware, it no doubt tops the list. Since you are on this How to Record with OBS guide, chances are that you are new to this program. That is why in this How to Record with OBS guide, we have covered all the information to get you started and learn How to Record with OBS. So let’s check out everything about the How to Record with OBS article.

How to Download & Install OBS?
So to get started recording and all other related stuff, make sure to install the OBS program on your PC. If you have already downloaded and installed it, you can head to the below How to Record with OBS section. So as we know the Obs is completely cross-platform, which means it is available for Mac, Windows, and Linux. With that in mind, let’s proceed to the How to Record with OBS steps for downloading and installing. Now let’s get to know more about this How to Record with OBS guide.
- STEP 1. While your PC/Mac is turned on and you are on the desktop screen, open up the web browser
- STEP 2. Once the browser opens up, either click on this link to directly open the OBS website or search through Google
- STEP 3. Now that you are on the OBS homepage; you will see the dedicated download button for your OS
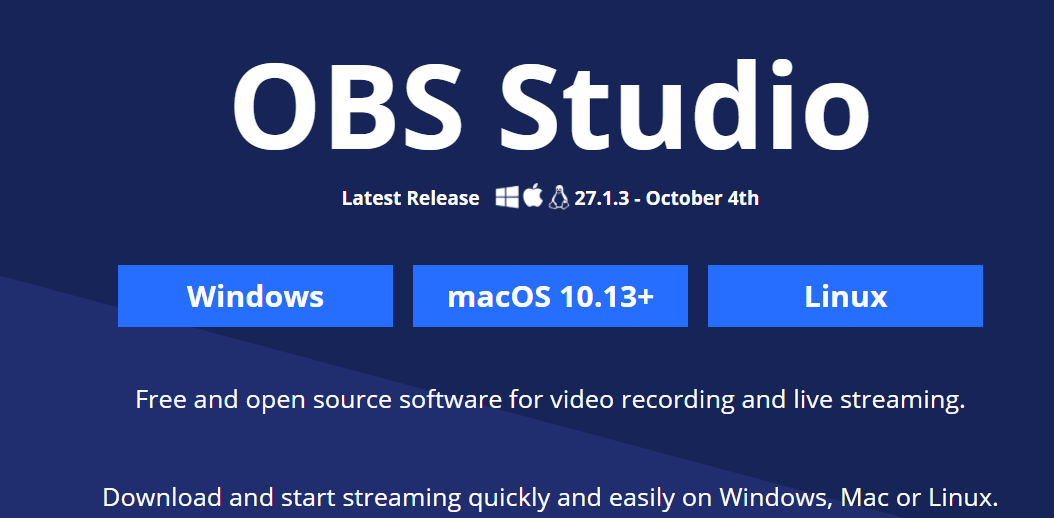
- STEP 4. Click on the button, and the program will start downloading right away
- STEP 5. Once the download is finished; head to the download folder and double-click on the setup to begin the installation
- STEP 6. Follow the on-screen setup instructions and finish the installation
(Guide) How to Record With OBS Very Easily
Now that you have successfully installed OBS, we can now proceed to all steps on How to record with obs.
Auto-Configuration Wizard
If you are completely new to the OBS, the best and by far the easiest way to get started with the OBS is to use the Auto-configuration wizard.
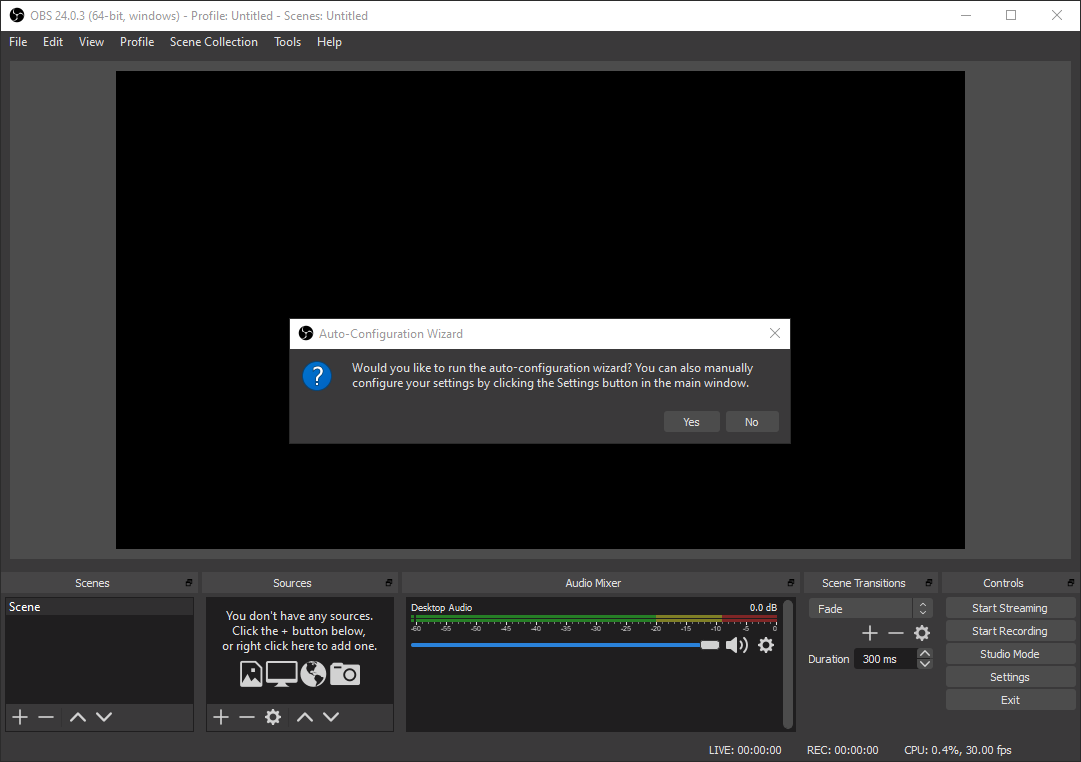
Usually, when you launch the program for the very first time, the Auto-Configuration Wizard pops up. However, if you have closed it accidentally, you can relaunch it by clicking on Tools > Auto-Configuration Wizard. Once it is launched. You can begin the tune it to match your settings.
You can see that there are three options to choose from.
- OPTIMIZE FOR STREAMING: If you choose this option, then you will be asked to choose a service provider among YouTube, Twitch, Facebook, etc. Then it will also help you in identifying the suitable bitrate.
- OPTIMIZE FOR SCREEN RECORDING: If you choose this option as well as the name, it will offer you some settings to optimize for the screen recording.
- VIRTUAL CAMERA: Well, it is very helpful in sharing your recording to various video conferencing applications like Zoom, Google Meet, etc.
After that, there are some common settings that you will have to configure, no matter which option you choose.
- Video Setting: You will be asked to choose a resolution in the video setting. Although you can choose the resolution that you find suitable. However, for the best quality, choose the Display resolution.
- FPS: Here also, you can choose what suits your need for the best quality and smoothness. It is suggested that you choose 60FPS.
Finally, you can see all your settings and then hit the Apply settings button.
Manual Configuration: Since the guide is aimed at the beginner, if you want to customize everything manually, you are free to do so. Head to File>Settings>Output. And here, you can customize pretty much every aspect.
Setup Scene
So the black screen that you see on the dashboard of the OBS well it is called a “scene.” At the bottom left, you can add more scenes and delete scenes.
Add Sources
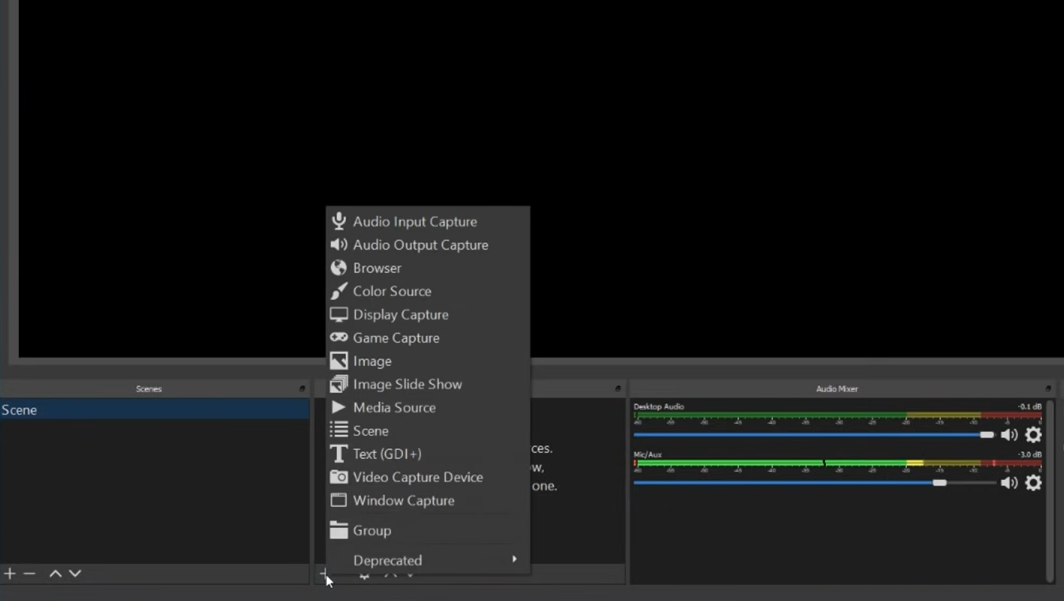
The source is important; click on the + icon under source, and you will understand what a source is. The two main sources that you will surely use are display capture and game capture. Display capture means that you will be recording your screen or the desktop, while game capture is all about capturing your game.
Capturing the Desktop
Now let’s go through all the information you need to know before starting the recording.
Video
Now that you know what are sources and scenes. To begin the desktop capture. Head to sources and click on Display Capture. You will be asked to choose the desired display to capture if you have multiple displays connected. Once you have done so. You can see the screen on the scene.
If you want to capture yourself as well via the webcam, simply head to Add Source and choose Video Capture Device.
Audio
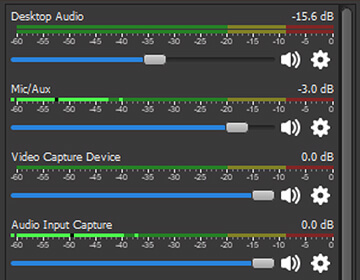
Besides the Sources tab, you can see the Audio mixer, which shows all your audio sources like Desktop, Microphone (if connected), and webcam audio. You can adjust the sound of all of these sources using their respective volume slider.
With all that information in mind, you can now begin the recording. At the bottom right, you can see the controls section, and just below, you will find the start recording option.
Conclusion:
So this is all about the How to Record with OBS article guide. In this How to Record with OBS guide, we have gone through several important steps on getting started with the OBS studio. You learn about the suitable settings, how to add sources, and How to Record with OBS effectively. Hope you like this How to Record with OBS from here now.
Hope you enjoy checking this type of How to Record with OBS content. Hopefully, all your confusion has now been cleared out. Thank you! If you enjoy reading the How to Record with OBS then please do share How to Record with OBS with others as well also.


 What is the Lifespan of an SD Card?")


